Making lattes is an art. With the right tools and techniques, you can craft cafe-quality espresso drinks from the comfort of your home.

We will walk you through everything you need to know to become your own barista. Learn to select the ideal milk frother, master key frothing techniques, and take your homemade lattes to the next level.
Selecting the Right Milk Frother for Lattes

When making lattes at home, using a milk frother is essential for getting that light, foamy texture on top. But with so many options out there, how do you choose? Here are the main types of milk frothers and what to consider when selecting one for latte-making:
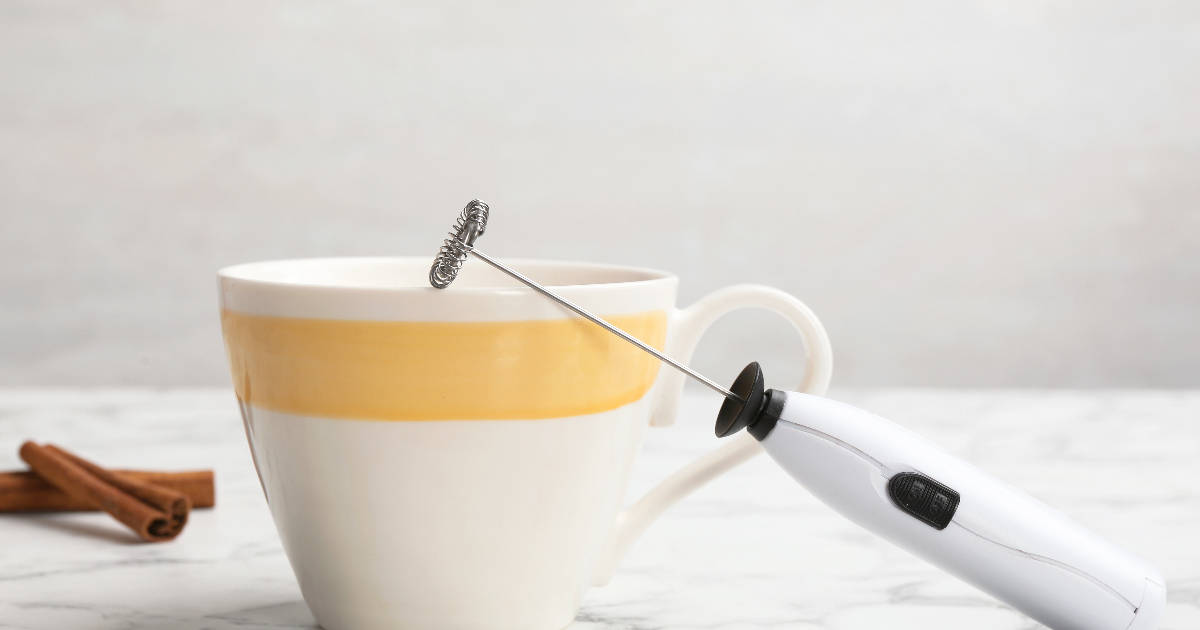
Handheld milk frothers are small, battery-powered whisks. They're inexpensive, portable, and give you control over the frothing process. However, they produce larger bubbles rather than the microfoam you see on professionally made lattes. Handheld frothers are best for beginners before investing in a more advanced model.
Electric milk frothers resemble small kettles. They automatically heat and froth milk at the push of a button. This simplicity comes at the cost of less control over the froth texture. Electric frothers work best for those short on time who still want quality foam. Look for options that prepare both hot and cold milk foam.
Steam wand frothers come built into espresso machines and are used by professional baristas. They produce the finest microfoam by injecting steam directly into the milk. While pricier, a steam wand gives you the most control for crafting latte art at home.
Consider your budget, how much effort you want to put in, and the types of foam you plan to make. Testing different kinds of milk in a frother before buying can also help determine the right model.
Choosing the Best Milk for Lattes
With your frother selected, the next key to great homemade lattes is choosing the right milk. Here's how the most common types compare:
Whole dairy milk makes the creamiest, thickest foam. The higher fat content is ideal for stabilizing air bubbles. This is the go-to for traditional lattes. Skim milk foams easily but produces a lighter, fluffier texture.
Non-dairy milks like oats and soy can work but foam best when barista-style versions designed for frothing are used. Otherwise, the foam tends to be thinner.
No matter the type, always use cold milk straight from the fridge. Cold milk whips up thicker foam faster than milk that's even slightly warm. For non-dairy milk, give the carton a good shake first to emulsify.
Frothing Milk with a Handheld Frother
Once you've chosen the right milk, it's time to froth! Here is a simple process for using a handheld milk frother:
- Pour cold milk into a tall, narrow jar or pitcher. Fill only halfway to allow for expansion.
- Submerge the whisk head just below the surface. Keep it upright.
- Turn on the frother and move it gently up and down to incorporate air.
- Continue until the milk doubles in volume and holds a creamy foam texture. This takes around 30 seconds.
- Tap the jar on the counter to pop large bubbles for a smoother foam.
- Swirl gently before pouring to further refine the texture.
- Rinse the frother head immediately after use.
Practice helps perfect foam texture and volume. But follow these tips and you'll be well on your way to handcrafted lattes!
Using an Electric Milk Frother
Electric milk frothers make it even easier to whip up lattes at home. Follow these steps for foolproof froth:
- Add cold milk to the frothing pitcher, filling to the max line. Less milk makes thicker foam.
- Secure the lid and press the hot or cold froth button, depending on your recipe.
- Let the machine run its cycle, for about 60-90 seconds. It will shut off automatically when done.
- Pour immediately or give the pitcher a light tap and swirl to smooth out the foam.
- Make sure to clean the frother pitcher and whisk after each use to prevent buildup.
Electric frothers take out much of the guesswork so you can consistently recreate cafe-style foam. Play with volumes and froth times to dial in your perfect latte foam.
Steaming Milk with a Steam Wand
If you have an espresso machine with a steam wand, you can froth milk to true barista standards. Here's how to master the technique:
- Fill a frothing pitcher 1/3 full of cold milk. Whole milk is recommended for beginners.
- Position the steam wand tip just below the surface. Turn on the steam.
- Adjust the tip depth until you hear slurping sounds every few seconds as air incorporates.
- Once the pitcher is hot to the touch, submerge the tip to 1/2 inch and tilt to create a whirlpool.
- Continue until the milk reaches 145-155°F on a thermometer for optimal sweetness.
- Turn off the steam, remove the pitcher, and tap to release large bubbles.
- Swirl gently and let the foam settle for 5 seconds before pouring.
Steaming milk takes practice to perfect, but following these guidelines will help you learn the method for lattes. Adjust variables like milk amounts, textures, and temperatures to suit your taste.
Adding Flavor to Lattes

A classic latte is delicious as-is, but you can also add different flavors to customize your drink:
- Flavored syrups - Hazelnut, vanilla, caramel, and many more. Add 1/2 to 1 ounce before frothing.
- Spices - Cinnamon, nutmeg, cardamom, or pumpkin pie spice. Sprinkle on the finished foam.
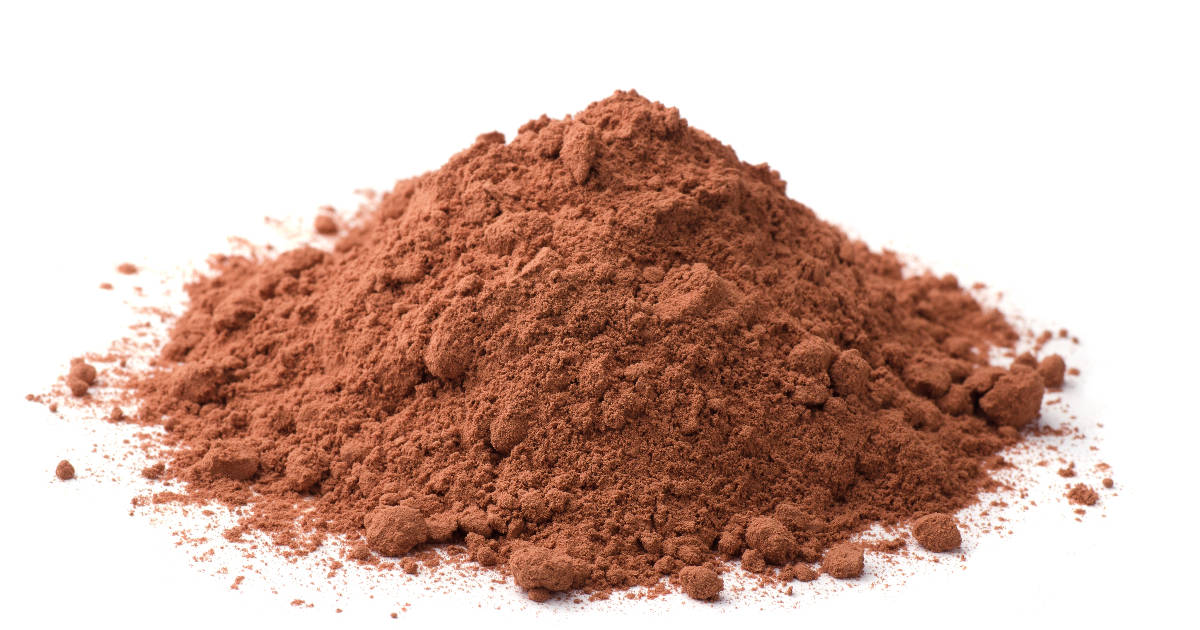
- Cocoa powder - For mochas. Whisk 1 to 2 tablespoons into hot frothed milk.
- Sugars - White or brown sugar, simple syrup, or agave nectar help sweeten.
- Extracts - Almond, coconut, peppermint, etc. add subtle flavor. Use 1/4 to 1/2 teaspoon.
- Salt - A pinch on sweetened lattes provides balance.
Taste your frothed milk before pouring to ensure you've added enough flavoring. You can always add more if needed.
Creating Latte Art

With beautifully frothed milk, you can take your lattes to the next level with latte art. Here are beginner designs to try:
- Heart - Pour from high up in a steady stream to make the base. Then quickly "draw" a heart shape with the same pouring motion.
- Rosetta - From low down, pour directly into the espresso to create a "stem." Then raise the stream and pour from high up in a circular motion.
- Tulip - Pour a rosetta base. Then pour a heart inside the rosetta, leaving a gap between the two shapes.
Use a dark espresso roast and whole milk for the best contrast. Pouring close to the surface, at a steady speed helps. Practice makes perfect!
Cleaning and Caring for Milk Frothers
Proper cleaning keeps any milk frother performing its best. Here are some tips:
- Rinse foam residue after each use.
- For electric frothers, run a cleaning cycle with water and white vinegar periodically.
- Soak handheld frother wands in hot, soapy water if needed to remove buildup.
- Deep clean moving parts with a damp toothbrush.
- Air dry fully before storing to prevent mold growth.
With care and regular cleaning, a quality milk frother should last for years of latte-making. Keeping all parts disassembled can also prolong product life. Follow manufacturer guidelines as well.
FAQ
What temperature should I heat the milk to?
For the best flavor and froth, heat milk to 140-155°F. Use a thermometer to monitor the temperature for consistent results. Heating to this sweet spot maximizes the natural sugars in the milk without scalding it.
What do I do if I don't have an espresso machine?
You can make a concentrated coffee to use instead of espresso. Methods like moka pots, AeroPress, and manual espresso makers produce an espresso-like base for lattes without an expensive machine. Just make sure to use finely ground coffee and the proper technique for strong coffee extraction.
What is the difference between microfoam and macrofoam?
Microfoam is the ultra-fine, silky foam used for latte art. It blends smoothly into the steamed milk. Macrofoam has larger bubbles and is drier. Cappuccinos feature primarily macrofoam. Adjusting your technique when steaming or frothing milk creates different foam types.
Can you make a latte without any frothing?
While it won't have the same light, foamy texture, you can make a quasi-latte by simply brewing espresso and heating milk together on the stove. Add the hot milk to the espresso. The end result won't be nearly as airy and fluffy, but the flavors will be similar.
Does the type of milk pitcher matter?
The pitcher's shape and material impact your ability to properly swirl and aerate the milk when steaming with a steam wand. Stainless steel pitchers with curved, tapered spouts work best. The right pitcher enables you to create that crucial vortex action.
Conclusion
Equipped with these skills, you'll be ready to froth, flavor, and pour beautiful lattes worthy of your local coffee shop.
So pick up a milk frother, dial in your favorite espresso, and let's get started crafting!

