
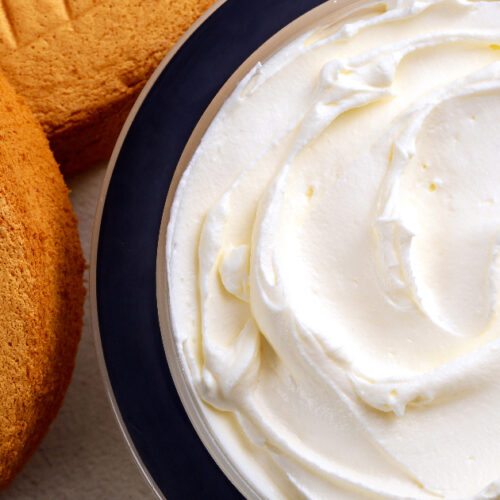
Whipped cream is a delicious topping that can transform both sweet and savory dishes. While you can certainly buy pre-made whipped cream, homemade tastes so much better!
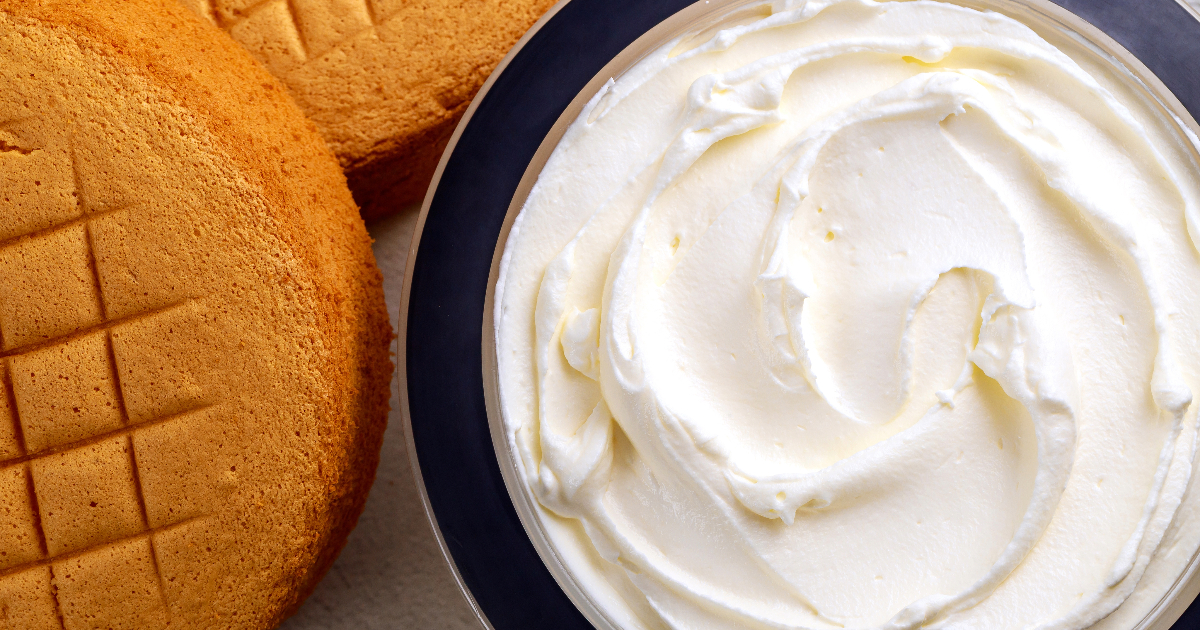
Learn the steps to making your own whipped cream at home, with tips for ingredients, equipment, techniques, troubleshooting, storage, and usage ideas.
Let's dive in and learn how quick and easy it is to make whipped cream from scratch!
Choose the Right Dairy Product
The first step is choosing which type of dairy product to use as the base for your whipped cream. Heavy whipping cream contains at least 36% milk fat, which is ideal for whipping up a thick, billowy cream. The high-fat content allows the cream to incorporate air and hold its shape when whipped. Light whipping cream is a bit lighter at 30-35% milk fat, but can also be used. Stay away from half-and-half or milk, which doesn't have enough fat.
For those avoiding dairy, full-fat coconut milk is a popular non-dairy alternative for making whipped cream. Refrigerate the can overnight, then scoop out the solid coconut cream on top and whip it. Keep in mind the final result will be a bit different than regular whipped dairy cream.
Get Your Equipment Cold
Before starting, it's ideal to chill your mixing bowl. Pop it in the freezer for 15-30 minutes before whipping. This helps the cream whip up faster. If you don't want to wait, you can place the bowl over an ice bath while whipping instead. Either way, using cold equipment makes a big difference!
Stand mixers, hand mixers, whisks or even immersion blenders will all work. Hand whisking or using an immersion blender gives you more control over the whipping process. Stand mixers are fast but you have to be careful not to overbeat.
Whip on High Speed
Begin whipping the cold cream on high speed until frothy. Then add any sweetener or flavorings and continue whipping on high until the cream forms soft mounds and trails remain when you lift the beaters. This is known as the soft peak stage.
For piping whipped cream onto cakes or desserts, beat until you achieve stiff peaks - peaks that stand upright when the beaters are lifted. But don't overbeat or you'll end up with chunks of butter! Stop when you've reached the desired consistency.
Add Flavor and Sweetness
A little sugar and vanilla extract are classic additions that enhance the flavor of homemade whipped cream. Powdered sugar dissolves more easily than granulated sugar. For 1 cup of cream, start with 1-2 tablespoons of powdered sugar. Taste and adjust if desired. Vanilla extract adds a wonderful aroma; use 1/2 to 1 teaspoon per cup of cream.
Other options for flavoring whipped cream:
- Cocoa powder - For chocolate whipped cream
- Instant pudding mix - Adds flavor and helps stabilize the whipped cream
- Liqueurs - Such as rum, amaretto, Kahlua
- Spices - Cinnamon, nutmeg, pumpkin pie spice
- Citrus zest - Lemon, lime, orange
- Flavored extracts - Almond, coconut, peppermint
Troubleshooting Issues
Here are some common issues and how to fix them:
- Overmixed into butter? Slowly drizzle in more cream while mixing on low speed until incorporated.
- Underwhipped and runny? Continue whipping at high speed until peaks form.
- Curdled? Refrigerate for 30 minutes then mix with a spatula until smooth.
- Weeping liquid? Drain liquid then re-whip until creamy.
- Grainy texture? Sift powdered sugar before adding it to help it dissolve.
Storing Your Whipped Cream
Fresh whipped cream tastes best right after making it. But you can store leftovers in an airtight container in the fridge for 2-3 days. Rewhip briefly before using if needed.
To freeze, dollop mounds on a parchment-lined baking sheet and freeze solid. Then transfer to an airtight container and store for 2-3 months. Thaw in the fridge before using.
Serving Suggestions
Homemade whipped cream is endlessly versatile! Here are just a few ways to serve it:
- Top pies, cakes, cupcakes, brownies, tarts
- Fill or frost layer cakes
- Spoon over waffles, pancakes, french toast
- Sweeten fruit salads or fresh berries
- Mix into chocolate pudding or ice cream
- Top hot chocolate, milkshakes, floats
- Sandwich between cookies
- Use in trifles and parfaits
- Pipe rosettes onto desserts
- Serve alongside pumpkin or sweet potato pie
- Fill cream puffs or eclairs
The possibilities are endless! Whip up a batch and let your creativity run wild.
FAQs
How long does whipped cream last in the fridge?
2-3 days when stored in an airtight container.
Can you freeze whipped cream?
Yes! Dollop mounds on a parchment-lined pan and freeze until solid. Then transfer to a freezer bag or container. Thaw in the fridge before using.
What's the difference between whipping cream and heavy cream?
Heavy cream has a higher milk fat content (36% vs. 30-35% for whipping cream). Both work but heavy cream makes the most stable whipped cream.
Is there a dairy-free whipped cream?
Yes, full-fat coconut milk can be refrigerated and whipped up into non-dairy whipped cream. The texture is a bit different than dairy whipped cream.
Can you make whipped cream without a mixer?
Yes, it will just take longer! Using a hand whisk and some determination, you can whip cream into soft peaks. An immersion blender also works well.
What if my whipped cream is runny and won't thicken?
Make sure your cream and equipment are cold. Continue whipping on high speed until peaks start to form. Add powdered sugar once the cream has thickened slightly.
What do I do if I overwhipped the cream into butter?
Slowly drizzle in more cream while mixing to emulsify. You can also keep whipping until completely separated into butter and buttermilk.
How can I stabilize whipped cream to prevent weeping?
Add powdered gelatin, cream cheese, or mascarpone after whipping to soft peaks. These help stabilize the structure.
Conclusion
With cold equipment, high-speed mixing, and careful watching, you'll have billowy whipped cream in minutes.
Flavor it however you like, serve it on all sorts of desserts, or even stabilize it for decorating cakes.
The possibilities are endless once you know the basics. Ditch the pre-made canned stuff and try your hand at homemade whipped cream today!
Homemade Whipped Cream
Ingredients
- 1 cup heavy whipping cream
- 2 tablespoons powdered sugar
- 1 teaspoon vanilla extract
Instructions
- Chill your mixing bowl and beaters in the freezer for 15-30 minutes. This helps the cream whip faster.
- Pour the cold heavy cream into the chilled bowl. Beat on high speed until the cream begins to thicken and increase in volume.
- Once the cream has thickened slightly, add the powdered sugar and vanilla extract. Continue beating on high speed until stiff peaks form.
- Do not overbeat or the whipped cream will become grainy and butter-like. Stop mixing once it reaches your desired texture.
- Use the whipped cream immediately or refrigerate in an airtight container for up to 2 days.
Notes
- For best results, make sure your cream and equipment are very cold. Warm cream will not whip properly.
- Add any additional flavorings or sweeteners to taste.
- To freeze, dollop mounds of whipped cream on a parchment-lined baking sheet and freeze until solid. Store frozen dollops in a freezer bag for up to 2 months.