Dried fruit makes for a delicious and nutritious snack, with its intense sweet flavor and high concentration of vitamins and minerals. Unfortunately, pre-packaged dried fruit can be expensive and may contain unwanted additives. Luckily, drying fruit at home is a simple and affordable alternative for obtaining this healthy treat.
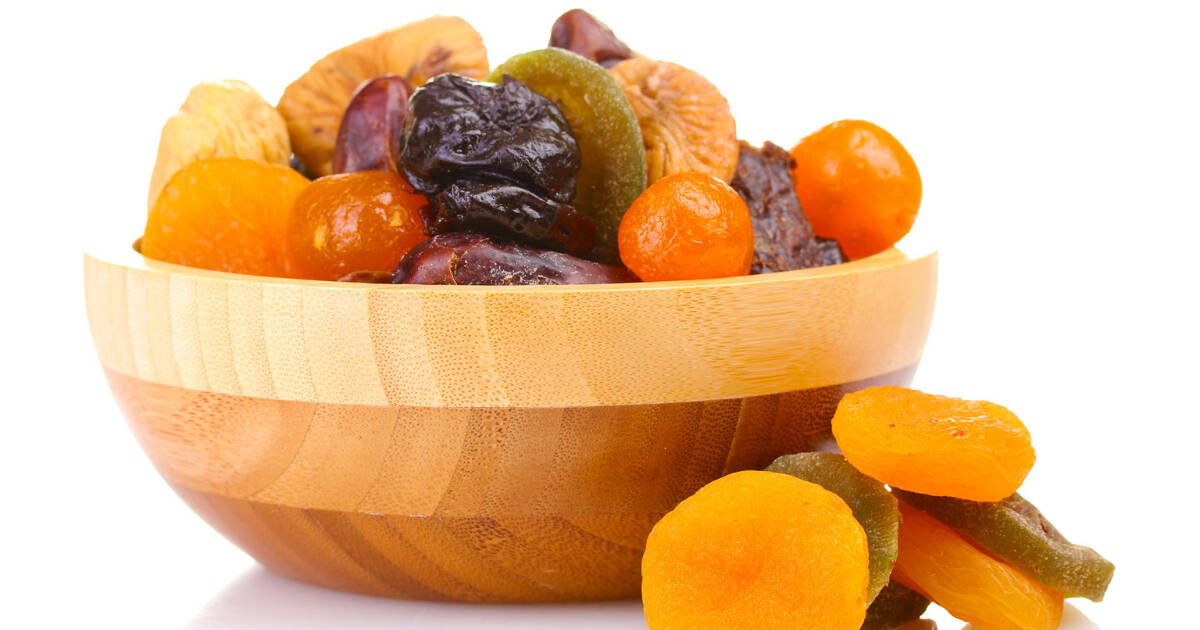
With just your oven or a food dehydrator, ripe fresh fruits, and a few easy techniques, you can create your own flavorful dried fruits whenever you please.
Selecting the Best Fruits for Drying
When making dried fruits at home, it's important to start with high-quality, ripe fruit. The best fruits for drying are those that naturally have a higher sugar content when ripe, as the sugars will concentrate and intensify as moisture evaporates during drying.
Apples, apricots, bananas, blueberries, cherries, grapes, mangoes, peaches, pears, pineapples, plums, and strawberries are all excellent choices. Avoid bruised or overripe fruit, as these will lack flavor and nutrition. For optimum results, look for tree-ripened local fruit in season.
Washing and Preparing the Fruit
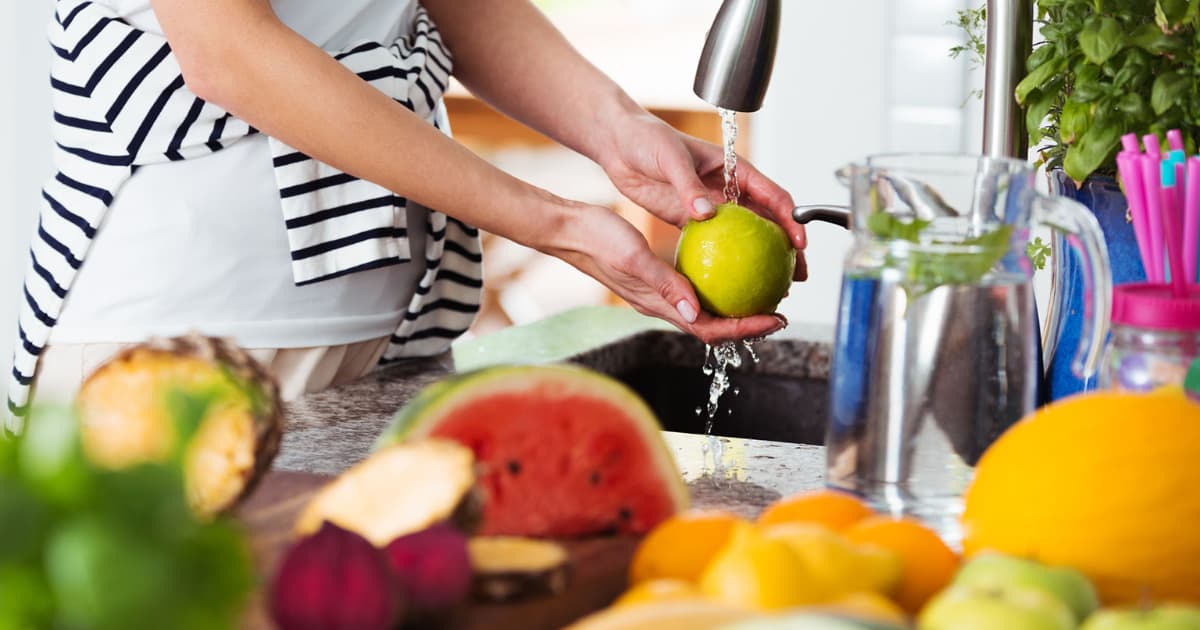
Properly cleaning and prepping the fruit is an essential first step. Rinse all fruits thoroughly under cool running water, even if you plan to peel them. Gently scrub off any dirt or debris, and pat dry with clean paper towels. Remove any stems, leaves, or pits next.
For larger fruits, slice into uniform 1/4-inch thick slices using a sharp knife. Having all the pieces a similar thickness will help them dry evenly. Leave smaller fruits like berries or grapes whole or halved if desired.
Soaking the prepared fruit in lemon juice and water before drying can help minimize browning. This step is especially useful for apples, peaches, pears, and other fruits prone to oxidation.
Oven Drying for Simple Dehydration
One of the easiest ways to dry fruit at home is using your oven. Preheat your oven to 140-170°F, the lowest possible setting. Arrange the fruit slices in a single layer on parchment paper-lined baking sheets, making sure the pieces aren’t touching. Bake for 4-8 hours, flipping the fruit and rotating pans periodically for even drying.
Monitor the fruit’s progress frequently - dried fruit should be chewy, not crispy. Allow it to cool fully before storing. Oven drying provides better temperature regulation than air or sun drying methods. Just be sure to keep the oven at the lowest setting to avoid cooking the fruit.
Leveraging a Food Dehydrator for Large Batches
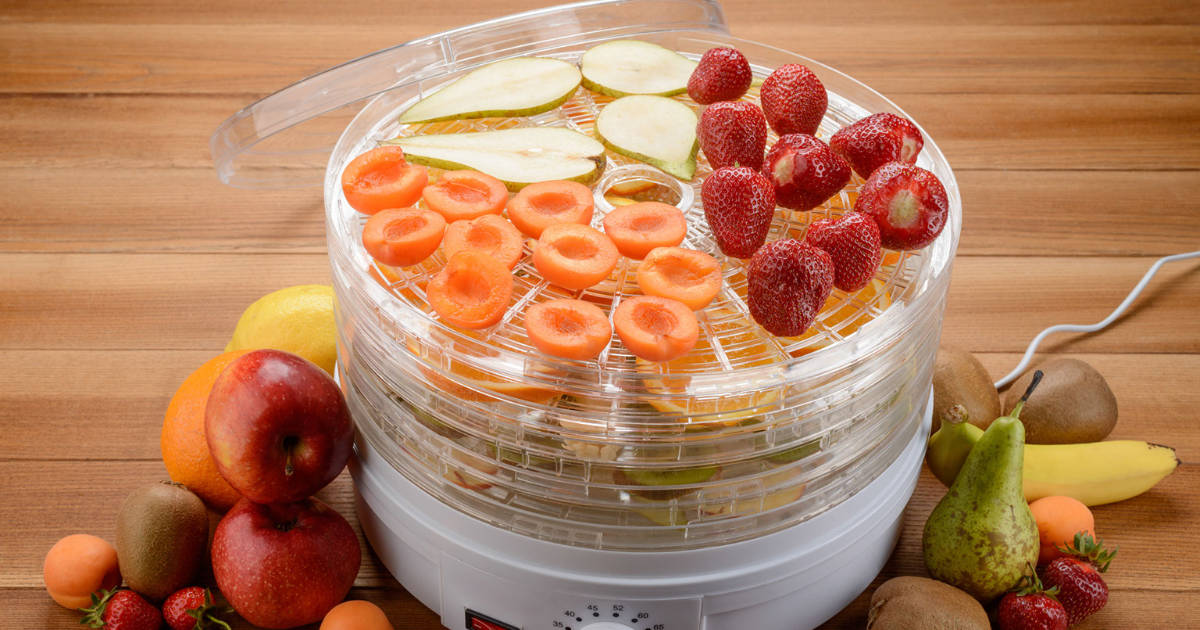
Investing in an electric food dehydrator makes home fruit drying even easier. Good dehydrators have an adjustable thermostat and multiple stacking trays. Set the temperature between 130-140°F and dry fruits for 6-48 hours, depending on type and thickness. Models with a built-in timer and transparent lid make monitoring progress simple.
A food dehydrator’s horizontal airflow design dries fruit fast and evenly. The enclosed chamber retains heat and evaporates moisture out through vents, preventing over-drying. Dehydrators allow the drying of large fruit batches efficiently in one appliance without tying up the oven. For serious fruit-drying fans, a dehydrator is well worth the initial investment.
Natural Sun Drying for Maximum Flavor
Outdoor sun drying may take longer and require optimal weather conditions, but it infuses fruits with incredibly intense, natural flavors. To sun dry, choose a hot, breezy day under 86°F with low humidity. Arrange prepared fruit slices on mesh drying racks and place them in full sun, covering loosely with cheesecloth to block insects.
Bring the racks inside at night and return to sunlight daily until fruits are dried, turning occasionally. Sun drying’s slow pace develops fruit’s sugars and flavors beautifully, though outdoor conditions can be unpredictable. Combining sun and oven drying gives the best results when the weather permits.
Conditioning and Storing Your Dried Fruits
Before prolonged storage, “condition” dried fruit by letting it rest for 1-2 weeks in an airtight container at room temperature after drying. This allows any remaining moisture to distribute evenly. If condensation appears, return the fruit to the dehydrator to dry further.
Once conditioned, dried fruit stays fresh for up to one year and should be stored in a cool, dark place. For short-term storage up to 1 month, keep in a sealed container at room temperature. For longer shelf life, refrigerate or freeze-dried fruit in airtight containers. Glass jars make attractive storage containers for dried fruits. Enjoy your homemade dried fruits as healthy snacks or in recipes!
Enjoying Dried Fruits’ Versatility and Nutrition
Home-dried fruits lend their rich, concentrated flavors to both sweet and savory dishes. Add dried fruits to homemade granola or trail mixes. Toss them into muffins, bread, cake, and cookie batters. Use them in stuffing recipes, mixed green salads, grain bowls, and more for pops of sweetness.
Rehydrate dried fruits like apricots, apples, or pears by simmering in water. Use the rehydrated fruits in pies, compotes, or chutneys. For a special touch, soak dried fruits in liquor, wine, or juice to plump them up before using them in cocktails or baked goods.
Drying fruits concentrate on natural sugars and flavors, but their vitamins and minerals remain intact. Dried fruits offer an appealingly chewy texture and provide a nutritious alternative to candies and other sweets. Savor their intense sweet-tart taste and vitamins A, B, C, E, and K straight up as a satisfying snack anytime!
Making Dried Berries for an Antioxidant Boost
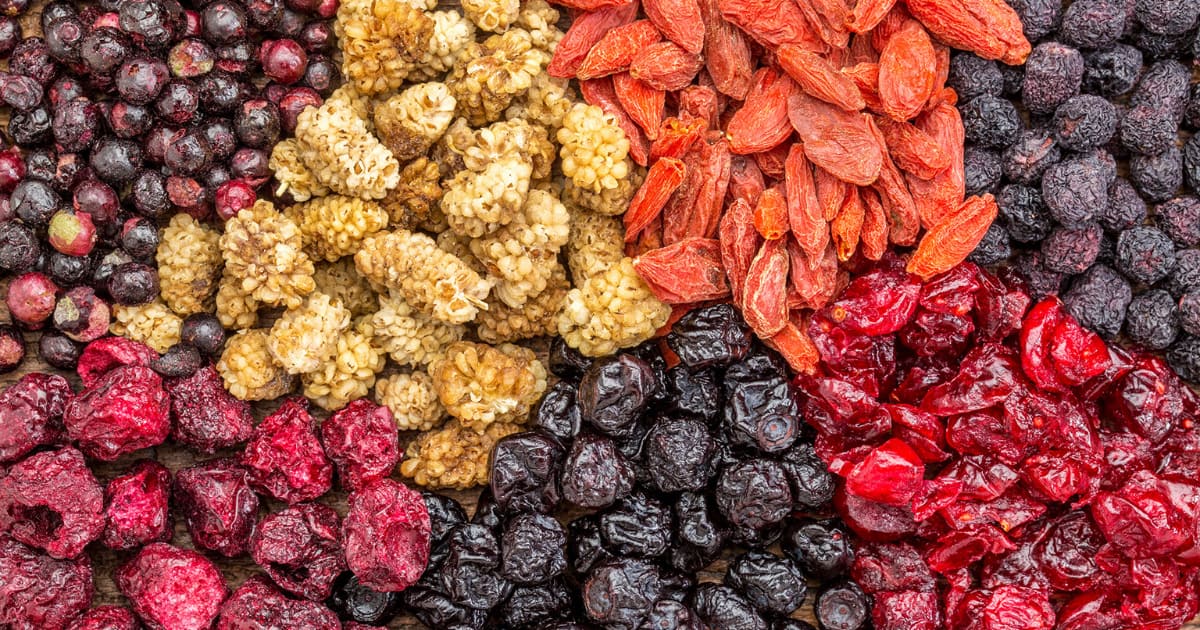
Small, antioxidant-rich berries like blueberries, blackberries, raspberries, and strawberries make exceptional dried fruits. Leaving berries whole or halving maintains their plump shape and intense berry flavor. Pierce their skins with a sterile needle first to prevent bursting during drying.
Line dehydrator trays or baking sheets with parchment paper for easy removal. Arrange berries evenly in a single layer, taking care not to overcrowd. 140°F is ideal for drying berries over 6-15 hours until leathery yet still soft. Condition dried berries for 1-2 weeks, then store in an airtight container for up to 1 year.
Beyond snacking, fold dried berries into yogurt parfaits or cereals. Mix them into granola and muesli or sprinkle over salads. Chop into baked goods like muffins and scones or stir into pancake batter. Blend into smoothies for concentrated berry nutrition and flavor.
Drying Stone Fruits Like Peaches, Plums, and Apricots
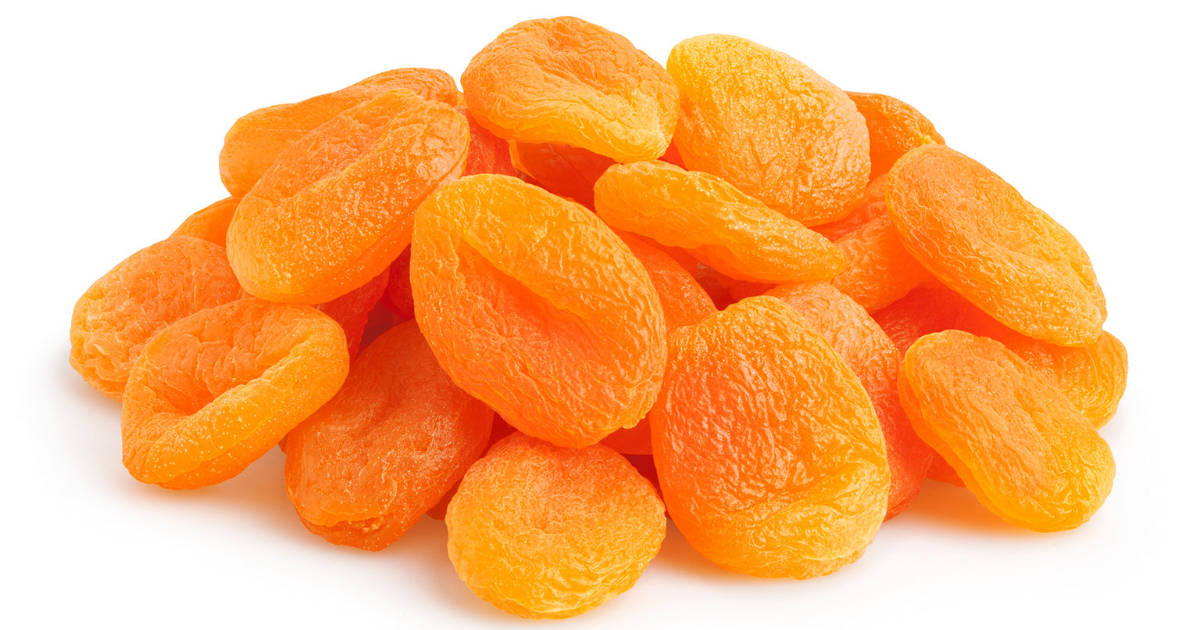
Juicy stone fruits like peaches, nectarines, plums, and apricots take well to drying, with their sweet flavors becoming downright honeyed. Pit and slice stone fruits 1/4-inch thick, or halve and pit apricots. Soak in ascorbic acid solution to prevent darkening, then arrange on lined dehydrator racks or baking sheets.
Dry at 130-140°F for 12-18 hours until leathery with no moisture inside. Condition thoroughly to evenly distribute remaining moisture before storage. Beyond snacking, use dried stone fruits in cereal, yogurt, oatmeal, or salads. They also make delicious additions to homemade trail mixes and granola. Chop and add to muffin and bread batters or blend into smoothies.
Preparing Bananas for Sweet, Portable Dried Snacks
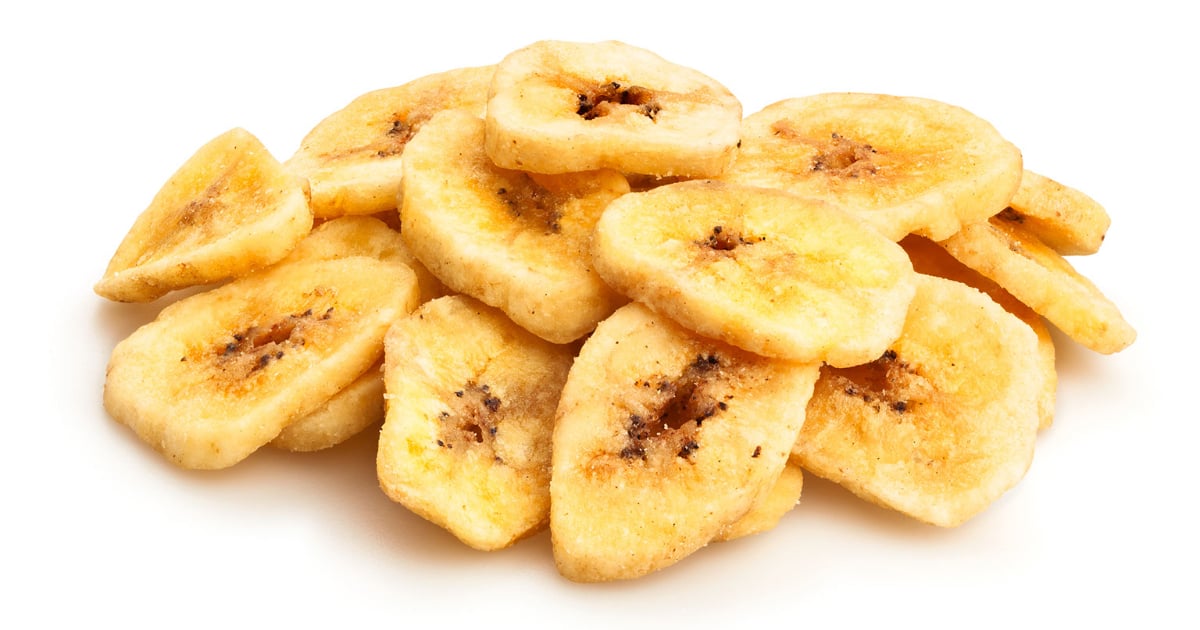
With their high natural sugar content, bananas are well suited for drying. Peel ripened bananas and slice 1/4 to 1/2-inch thick. Arrange slices evenly without overlapping on lined dehydrator trays or baking sheets. Dry bananas at 140°F for 8-10 hours, flipping halfway; they should be leathery and chewy when done.
Bananas’ sweet flavor concentrates beautifully when dried. Enjoy chewy dried banana chips plain for an energy-boosting snack, or sprinkle with cinnamon. Crumble the dried bananas to use as a topping on yogurt, cereal, and oatmeal. Mix into granola, trail mixes, or baked goods like muffins and bread.
Creating Pineapple Chips with Tropical Flavor
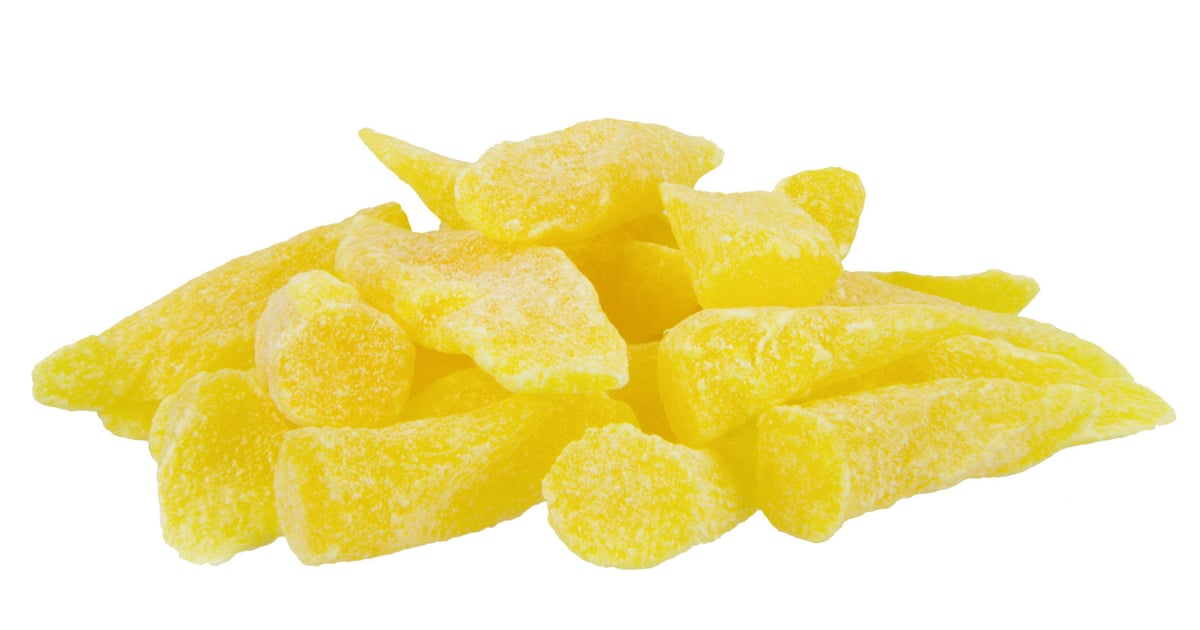
With their intense sweet-tart flavor, chewy dried pineapple chips make a tropical-inspired healthy snack. Peel and core fresh pineapple, then slice rings 1/4 to 1/2-inch thick. Arrange slices in a single layer on lined dehydrator trays or baking sheets.
Dry at 130°F for 8-12 hours until golden and leathery. Let cool completely before eating. Pineapple’stangy flavor intensifies marvelously when dried. Enjoy straight up for a sweet pick-me-up or added to trail mixes. Also delicious crumbled over yogurt, cereal, and ice cream for a touch of the tropics.
Preparing Chewy, Nutritious Dried Apple Slices
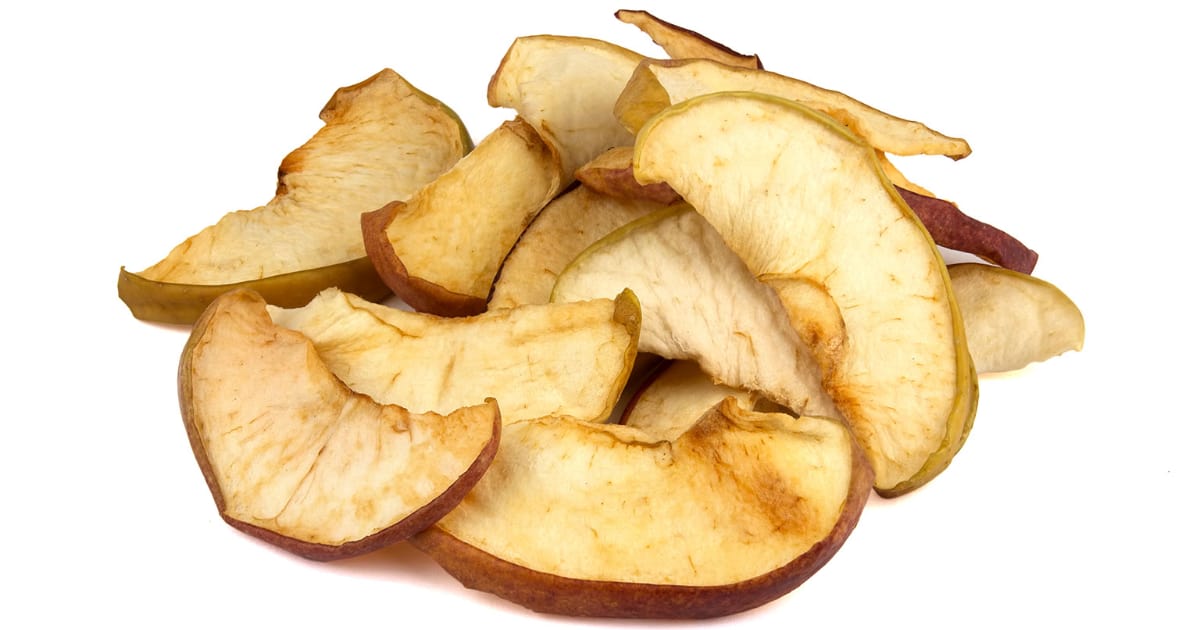
Apples are one of the most popular fruits for drying, with their sweet-tart flavor becoming concentrated. Core apples and slice them into 1/4-inch rings, soaking for 10 minutes in an ascorbic acid solution to prevent browning. Arrange slices on lined dehydrator trays or baking sheets.
Dry apples at 130°F for 6-15 hours, depending on thickness. They should be chewy with no moisture inside when fully dried. Condition thoroughly before storage for maximum shelf life. Beyond snacking, chopped dried apples are delicious in baked goods, yogurt, and hot cereal.
With their satisfyingly chewy texture and sweet flavor, homemade dried apple slices make a nutritious alternative to less healthy snack options. They supply antioxidants, fiber, and vitamins A, C, and K.
Drying Grapes into Sweet, Nutritious Raisins
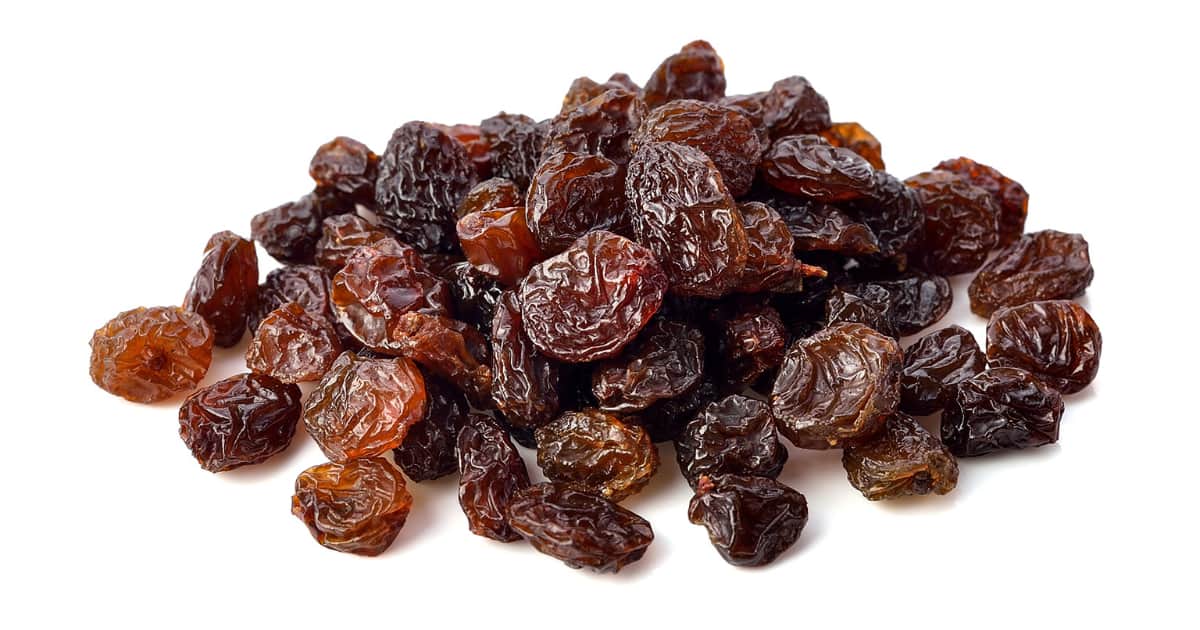
Turning fresh grapes into raisins is one of the simplest dried fruit projects. Leave seedless grapes whole or cut in half, arranging in a single layer on lined dehydrator trays or baking sheets. Dry at 135°F for 24 hours, then condition thoroughly for plump, moist raisins.
Beyond snacking, plump rehydrated raisins by soaking them in water or juice to add to cereals, yogurt, salads, or baked goods. Raisins offer antioxidants like resveratrol, plus fiber, potassium, and B vitamins. Their portable size and long shelf life make homemade raisins perfect for snacking and lunches on the go.
FAQs
What is the best way to store homemade dried fruit long-term?
For storing dried fruit longer than one month, the best method is freezing. Portion fruit into airtight freezer bags or containers, squeezing out excess air. Frozen, dried fruit will maintain quality for 8 to 12 months. Thaw at room temperature as needed. Refrigeration also works for longer storage, keeping dried fruit good for 2 to 3 months.
How long does it take to dry fruit in the oven?
Oven drying times will vary based on the type and thickness of the fruit, oven temperature, and moisture content. Most fruits take a minimum of 4 hours to fully dehydrate in the oven at its lowest setting between 130°F to 170°F. Bananas may dry in as little as 3 hours, while thicker apples, peaches, or pears may need up to 8 hours. Monitor progress every 30 minutes.
Can you dry citrus fruits like oranges, lemons, and limes?
Yes, citrus fruits can be dried whole or sliced into rings. Remove any stickers and scrub clean before slicing. Due to their low water content, citrus dries rapidly in just 4 to 6 hours from 130°F to 140°F. Dried citrus slices offer a tangy, chewy texture and concentrated citrusy flavor. Use to make fragrant potpourris or fresh seasoning for dishes.
What is the best way to rehydrate dried fruit before eating or cooking?
To plump up dried fruit, simmer in water, juice, or wine for 15 to 20 minutes until softened. For quicker rehydration, soak in the liquid for 2 to 4 hours. Drain rehydrated fruit well before using it in cereals, baked goods, smoothies, or chutneys. Letting fruits slowly rehydrate infuses extra flavor.
Conclusion
With a stock of homemade dried fruit on hand, you can enjoy a healthy, convenient snack without all the added sugar or preservatives of store-bought.
Tailor dried fruits to suit your tastes by playing with different fresh produce, slice thicknesses, and drying techniques.

